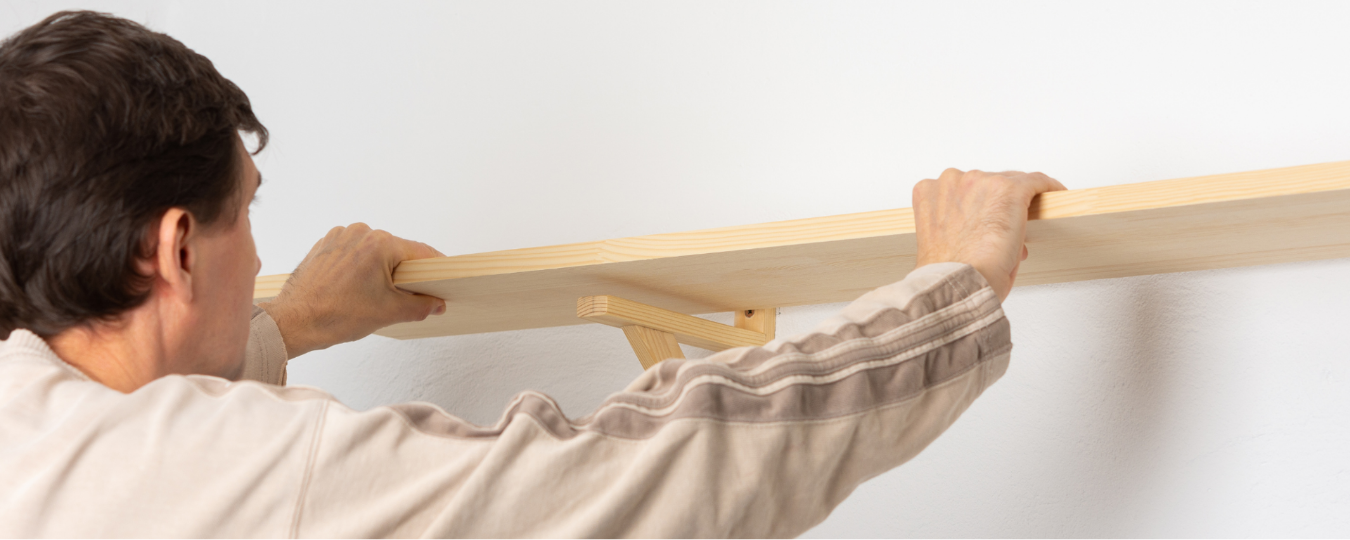
How to Hang a Shelf

It is important that shelves are hung correctly to reduce the risk of damage to the shelf itself, the wall it is attached to, or to the contents that sit on it. Follow our easy step-by-step guide to erect a shelf securely and safely.
Test Wall for Current & Beam
Drilling into wiring can result in serious injury and fire. Using an electrical current detector, follow the manufacturer’s instructions to check there are no currents present in the area where you plan to drill. If a current is present, choose a different place with no current where you can safely hang the shelf. You should drill into a beam or stud for the required support. You can locate them using a stud finder.
Mark Height
Using a measuring tape, measure from the floor to the height you want your shelf, and mark that point on the wall with a pencil.
Mark the Bracket Position
Using the shelf and a spirit level, mark with pencil the required positions of the mounting brackets.
Mark Hole Positions for First Bracket
Hold up one bracket at the height at which you wish to hang the shelf. Use your level to ensure the bracket is straight, otherwise your shelving will be crooked. Mark with pencil the location where each drill hole is needed to support the bracket.
Drill Marked Spots in Wall
Use a suitable masonry drill bit that is slightly smaller than the screws you will be using to secure the bracket to the wall. Measure how deep you require the hole to be by examining the length of the screw that will be holding up your shelving. Don safety goggles, and then drill the required holes.
Insert Wall Plugs
Insert wall plugs into the holes and use a hammer to lightly tap them flush to the wall.
Screw Brackets to Wall
Screw the brackets into place. When using plasterboard wall plugs it is better to screw the screws by hand.
Assemble Brackets
Assemble the brackets so they are ready to take the shelf.
Affix Shelf


Leave a Comment