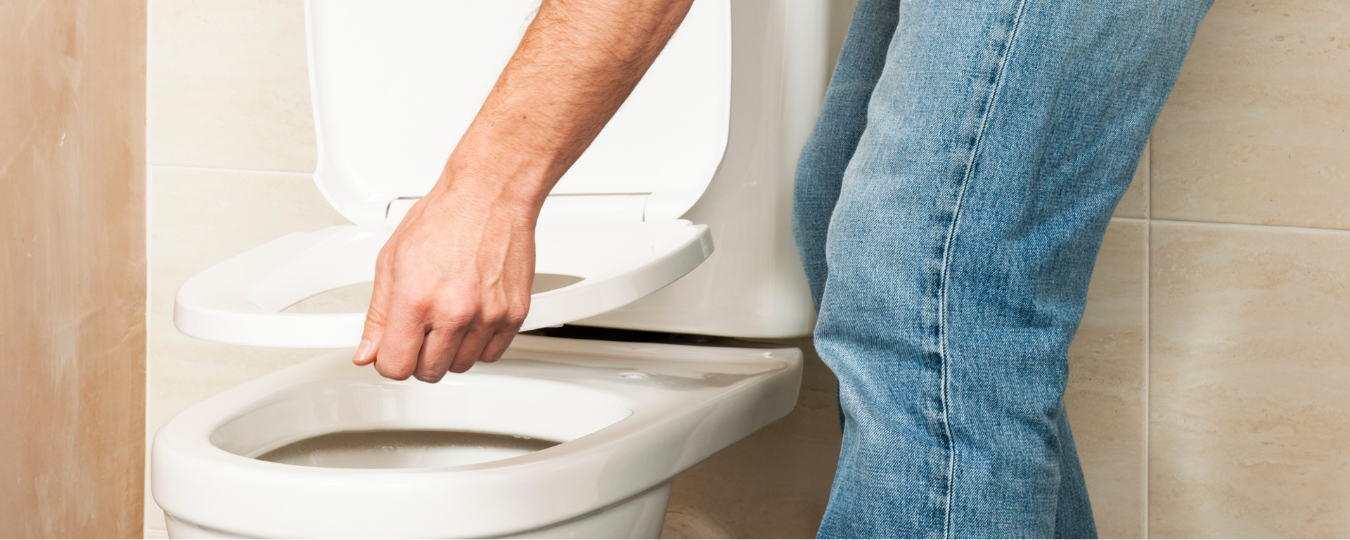
How to Change a Toilet Seat

Wear and tear can leave toilet seats fitting improperly, cracked or broken. As well as being uncomfortable to use, it can be unhygienic and unsafe. Our simple guide makes this an easy DIY job.
Unscrew Old Seat
Wear rubber gloves to protect your hands. Your existing toilet seat will be fixed to the bowl by two plastic screws secured underneath with large butterfly nuts. Unscrew both nuts completely. If the nuts are metal and rusted or corroded, they may need to be carefully cut off with a hacksaw.
Remove Old Seat
Lift the old toilet seat away, leaving this area free for your new toilet seat.
Assembly of New Toilet Seat
Every toilet seat manufacturer has their own design of attachment points. Follow the manufacturer's instructions to assemble and insert the retaining bolts on your new seat. In the picture shown, the retaining bolts are of the snap-in variety with a rotating cuff lock to ensure they stay in place. Some designs have width-adjustable mechanisms that allow the seat to be fitted to a very wide variety of toilet designs.
Fit New Toilet Seat
Attach the new seat to the porcelain through the boltholes on the rim.
Tighten Plastic Nuts
Hand tighten the plastic nuts securing the new seat to the bowl. Don’t over tighten the bolts until you are happy with the position of the seat. Once you are happy with the positioning, fully tighten the screws.


Leave a Comment